
Gemstone Identification Guide for Beginners
Learn gemstone identification with this beginner guide. Discover tools, tests, and tips to identify raw crystals and stones with confidence. Start.
Learn gemstone identification with this beginner guide. Discover tools, tests, and tips to identify raw crystals and stones with confidence. Start.

Last Updated: September 21, 2026
A gemstone identification guide for beginners works best with the right tools and a clean, well-lit space for gemstone identification. At Buried treasure, we often hear new collectors ask: what am I holding? The answer rarely comes from a single test, it comes from stacking small observations until only one mineral fits.
Start with a 10x jeweler's loupe, a steel nail, a copper coin, a glass plate, and a streak plate. These five items cover most of what you'll test at home.
Use a table near a window with indirect daylight. Direct sun washes out color; a desk lamp with a daylight bulb works on cloudy days.
The best tools for rock identification are the ones you'll actually use, not the most expensive. A refractometer is the gold standard for refractive index, but it costs more than most beginners want to spend in month one.
Here's what to buy in what order:
| Tool | What It Tests | When to Buy |
|---|---|---|
| 10x loupe | Inclusions, surface features | Day one |
| Streak plate | Powder color | Day one |
| Steel nail and copper coin | Hardness range | Day one |
| Kitchen scale and cup | Specific gravity | Month one |
| Magnet | Magnetic minerals | Month one |
| Refractometer | Refractive index | After basics feel easy |
| Dichroscope | Pleochroism | Once you collect faceted stones |
Identifying raw crystals means working through three tests in order: visual observation, physical testing, then optical checks. Skip a step and you'll misidentify minerals like quartz, calcite, and fluorite, which mimic each other in the hand.
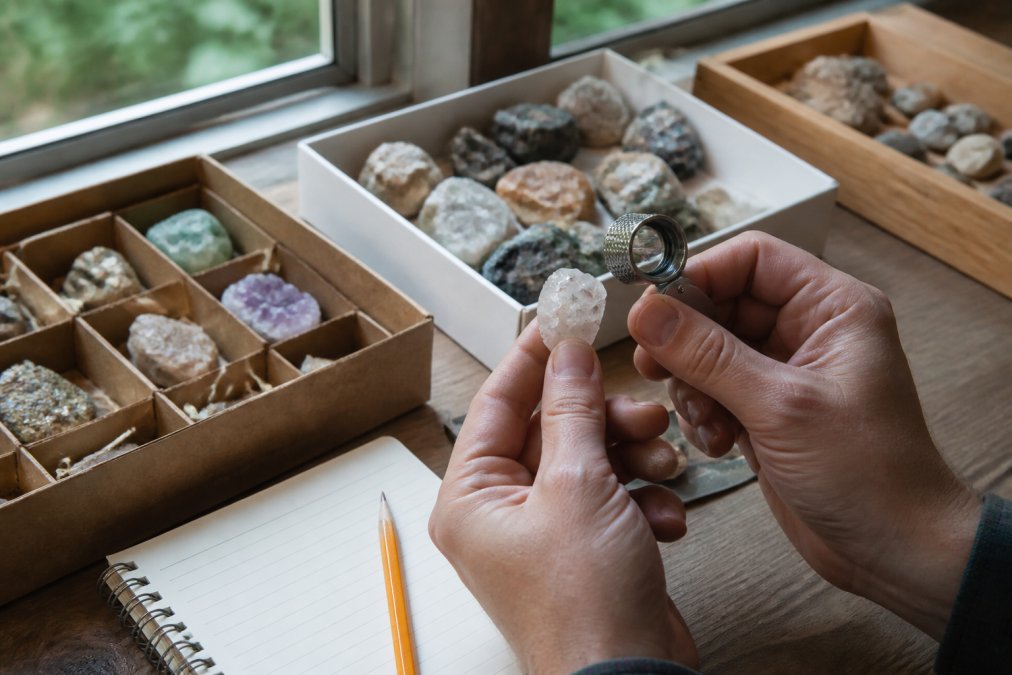
Note color, diaphaneity, and crystal habit before you touch anything. Crystal habit is the shape a mineral grows into, such as hexagonal prisms in quartz or rhombohedrons in calcite.
Scratch the specimen with your fingernail, a copper coin, and a steel nail in that order. Then rub it across the streak plate to see the powder color, which often differs from the surface.
Look through the loupe for inclusions, cleavage, and fracture patterns. Double refraction shows up clearly in calcite, where a line viewed through the crystal appears doubled.
A gemstone hardness test kit compares your specimen against reference materials on the Mohs hardness scale, which ranks minerals from 1 (talc) to 10 (diamond). The test measures resistance to scratching, not toughness, a diamond is the hardest mineral, yet a sharp blow can still cleave one along a plane of weakness.
The scale is anchored by ten reference minerals. Memorize the ones you will actually use in the field:
| Mohs | Reference Mineral | Common Field Equivalent |
|---|---|---|
| 1 | Talc | Crumbles under a fingernail |
| 2 | Gypsum | Scratched by a fingernail |
| 3 | Calcite | Scratched by a copper coin |
| 4 | Fluorite | Scratched by a steel nail with effort |
| 5 | Apatite | Scratched by a steel nail |
| 6 | Orthoclase feldspar | Scratches a glass plate |
| 7 | Quartz | Scratches window glass easily |
| 8 | Topaz | Scratches quartz |
| 9 | Corundum | Scratches topaz |
| 10 | Diamond | Scratches everything else |
Work from soft to hard, never the reverse. Start with your fingernail. If it leaves a mark, the specimen ranks below 2.5. Move to the copper coin, then the steel nail, then the glass plate. Stop at the first tool that scratches the stone.
A few rules keep the test honest:
Hardness narrows the field but rarely closes it. Quartz, beryl, and tourmaline all sit near 7 to 7.5, so a scratch test alone cannot separate them. Pair hardness with streak color, specific gravity, and a loupe inspection of crystal habit before committing to an identification.
Beginners lump every non-natural stone into one category. There are actually three, and they behave differently under the loupe.
Growth lines are the most reliable beginner-level diagnostic. Hold the stone under a 10x loupe with a light behind it and look for internal structure.
A stone can be natural and still not be what the seller implies. Common treatments include:
Ethical sourcing means knowing where a specimen came from, not just what it is. Ask sellers whether their material is documented and legally and responsibly collected. Reputable suppliers can answer basic questions about origin, treatment status, and chain of custody.
Your phone is a legitimate identification tool when used correctly. Photograph each specimen on a neutral background in indirect daylight, then compare against reference databases and mineralogy apps.
Ethical sourcing means knowing where a specimen came from, not just what it is. Ask sellers whether their material is documented and whether it was collected legally and responsibly.
Building real identification skill takes practice, patience, and specimens worth examining. Start with the loupe, streak plate, and Mohs scale, then add optical tests as your confidence grows. Buried treasure offers hand-selected mining buckets and bags packed with authentic, ethically sourced crystals, gemstones, fossils, and seashells, including rough stone gallon buckets with over 50 different minerals and crystals.
Start with a 10x jeweler's loupe, a steel nail, and a glass plate. Check color, transparency, and crystal shape first. Try a streak test on unglazed tile. Compare hardness by scratching the stone against known reference points. A gemstone identification guide for beginners often recommends these basic tools because they cover most common stones. For accurate results on valuable pieces, consult a professional gemologist.
Free apps can suggest possibilities based on photos, but they are not reliable for definitive identification. Lighting, camera quality, and background all affect results. Use apps as a starting point, then confirm with physical tests like hardness, streak, and specific gravity. No app replaces hands-on testing with a gemstone hardness test kit or a refractometer. Treat app results as guesses, not facts.
A basic kit includes a 10x loupe, a streak plate, a steel file or nail, a glass plate for hardness testing, and a small scale for specific gravity. A gemstone hardness test kit with reference minerals helps you compare scratch resistance. For optical properties, a dichroscope and refractometer are useful but optional for beginners. Start with the essentials and add tools as your interest grows.
Value depends on rarity, clarity, color saturation, cut quality, and size. Beginners can check for visible inclusions, uneven color, or scratches that lower value. A stone that is exceptionally clear and vividly colored is often more valuable. However, without professional grading, you cannot confirm market value. Use identification to narrow down the species, then consult a certified appraiser for valuation.
The most common home methods are visual inspection with a loupe, hardness testing with the Mohs scale, streak testing on unglazed porcelain, and specific gravity measurement using a scale and water. You can also check for pleochroism with a dichroscope and observe fluorescence under ultraviolet light. These tests are non-destructive and safe for most stones. Combine at least three methods for better accuracy.
Natural gemstones form in the earth over millions of years and often contain unique inclusions. Synthetic stones are lab-created with the same chemical composition but lack natural inclusions and may have different trace elements. Simulants are different materials altogether, like glass or cubic zirconia. A gemstone identification guide for beginners should teach you to look for inclusions, growth lines, and unusual color zoning to spot synthetics.
Your cart is currently empty.
Start Shopping